1 Register your own domain:

2. GoDaddy settings:
3. Blogger settings:
2. GoDaddy settings:
- Log in to your Account Manager on GoDaddy.
- Next to Domains, click Launch.
- From the DNS menu, select DNS Manager. The DNS Dashboard displays.
- For the domain name you want to use with your Blogger account, click Edit Zone. The Zone File Editor displays.
- In the CNAME (Alias) section, click the www record.
- In the Points To field, type ghs.google.com.
- Click Save Zone File, and then click OK.
3. Blogger settings:
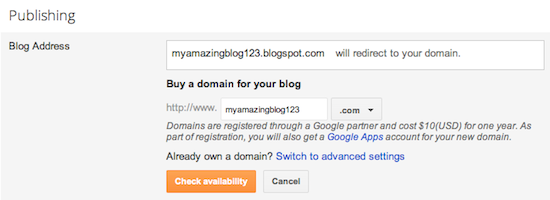
- Before you move onto this step, wait about an hour for your DNS settings to activate. If you attempt to change the publishing settings before the DNS changes activate, then we'll let you know with a warning message.Now it’s time to make sure Blogger knows about your custom domain so that Google can direct readers to your blog. Just head back to Blogger and update the information on your Settings | Basic tab. Find the area for "Publishing," and click the link to add a custom domain.

- Then, click on "Switch to advanced settings."Enter in the URL for your custom domain in the text box provided, and click Save. That’s it! Your blogspot.com address will soon redirect to your new custom domain -- be patient, as it might take up to 24 hours for the redirect to start working.

-
Congratulations, you’re all set!
Some helpful notes:
- If your new domain isn't taking you to your blog, wait another day or two to make sure all the DNS servers have been updated. If it still isn't working, contact your registrar to make sure you entered the DNS settings correctly.
- Your original Blogspot address will automatically forward to your new domain. That way, any existing links or bookmarks to your site will still work.
- Your posted images will continue to display on your blog.
No comments:
Post a Comment